
Before Install: Get OpenWrt Online
This documentation is still being edited and may differ from the actual version.
Before installing Flet’H, solve the practical problem first: the package must be downloadable.
Note: Some 10Gbps fiber lines do not provide PPPoE and offer only IPv6 (IPoE) connectivity. PPPoE is generally only retained by specific legacy services such as GLBB or IIJ FiberAccess.
Flet’H configures IPv4 over IPv6, but you need to install Flet’H before it can do that. So the router or the computer you are using for setup needs a working path to fetch the package first.
1. Choose a wan6 identifier fix
Choose one of the two methods below. Usually try option A first. Use option B if wan6 needs an NGN-style DHCPv6 Client ID.
Option A: clear Default DUID
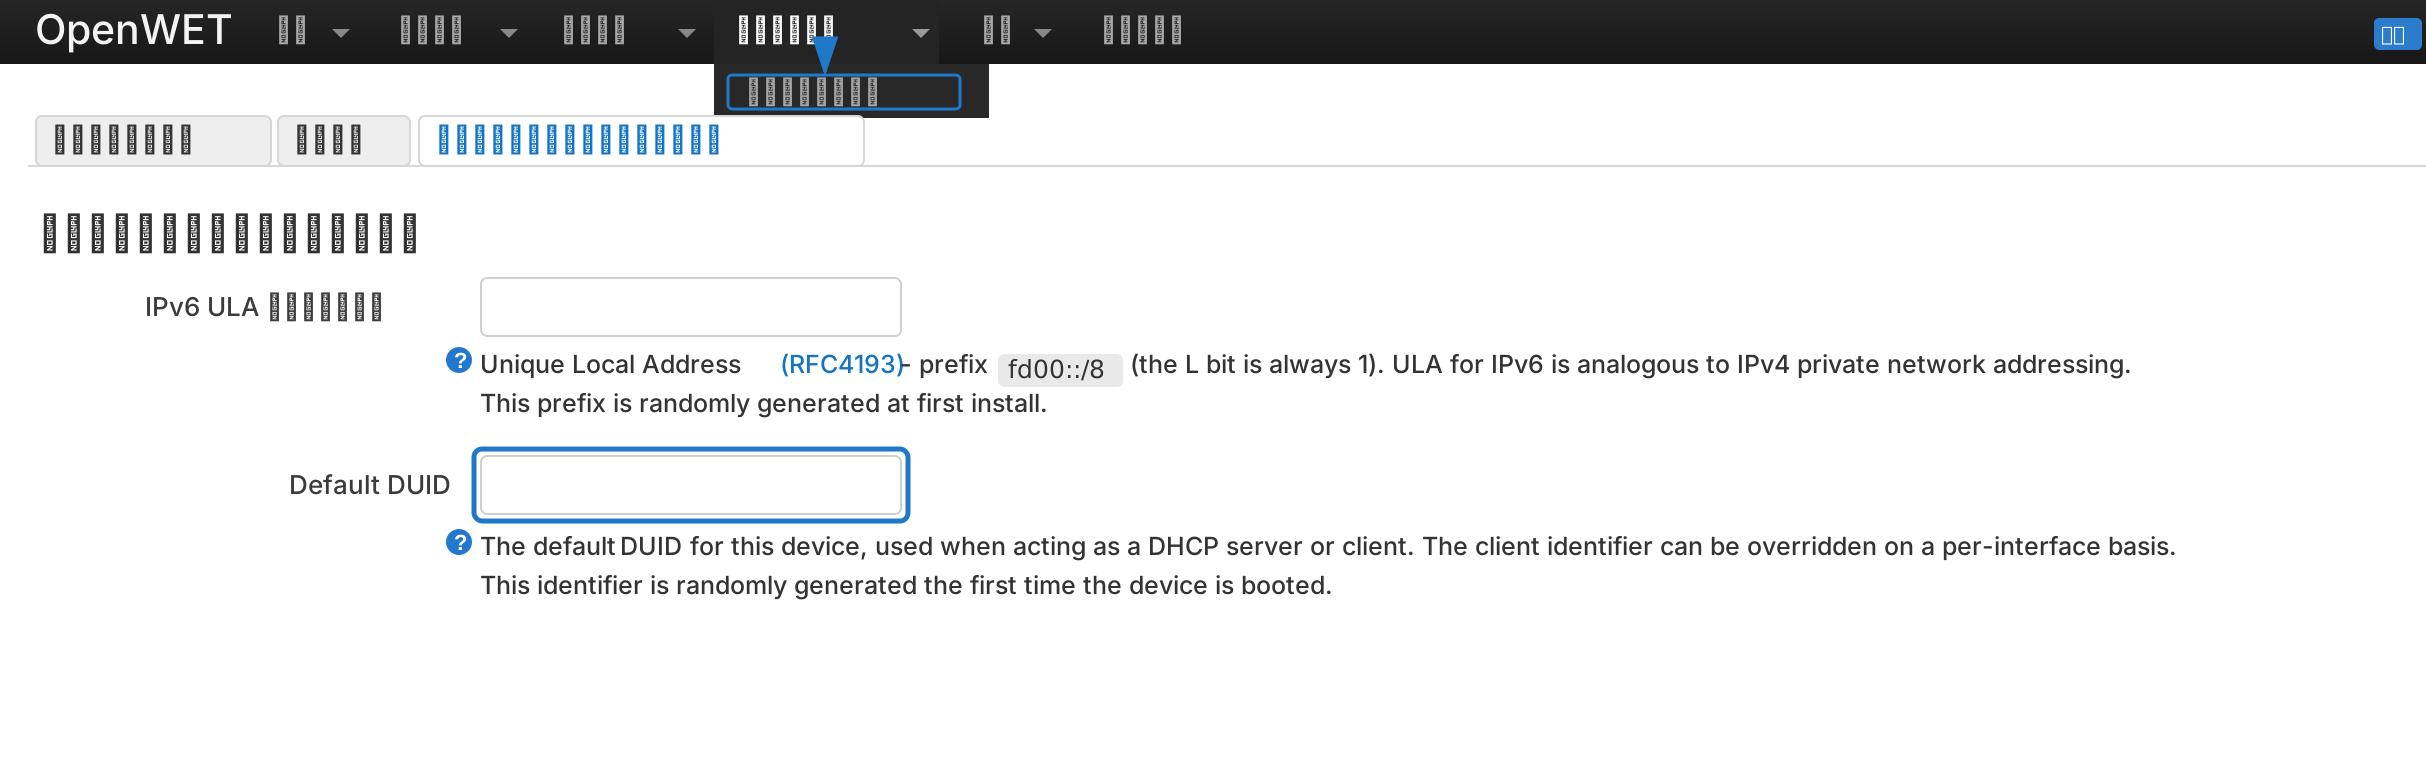
Default DUID in Global network options. If that does not work, use option B.- Open LuCI:
Network -> Interfaces. - Open
Global network options. - Clear
Default DUID. - Save and apply.
- Restart
wan6.
Option B: copy the WAN / wan6 MAC and calculate Client ID
Copy the MAC from LuCI.
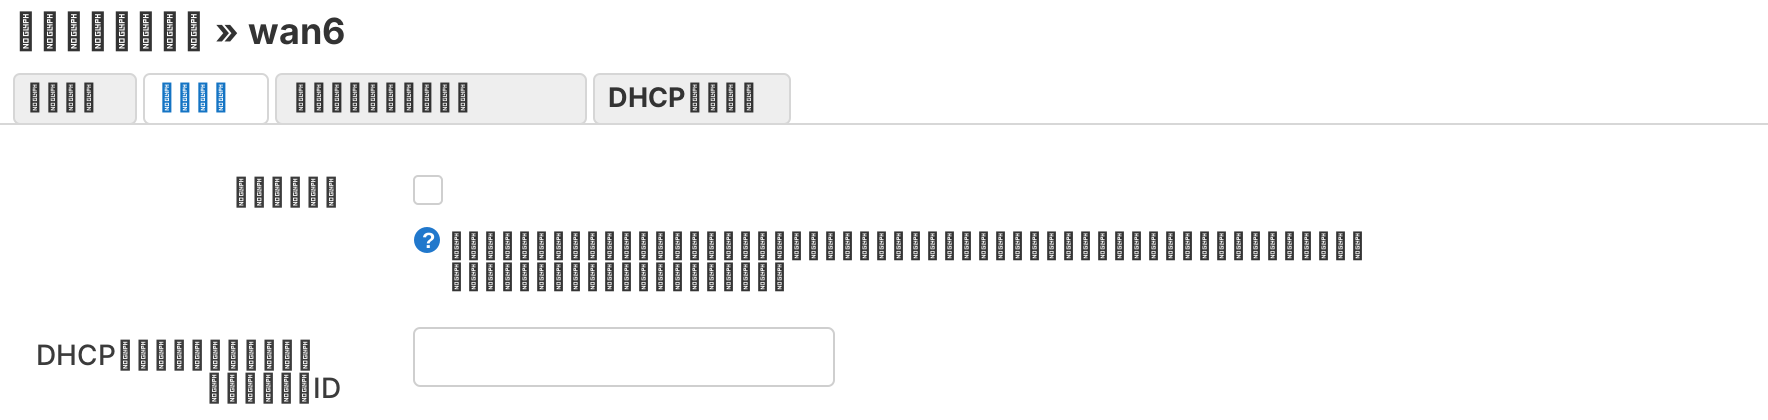
wan6 Advanced Settings, then enter the calculated value.- Open
Network -> Interfaces. - Open the
wan6interface. - Copy
MAC addressfrom the interface details.
-- Open
Network -> Interfaces -> wan6 -> Advanced Settings. - Put the value above into
DHCPリクエスト時に送信するクライアントID. - Save, apply, and restart
wan6.
2. Configure wan6 and apply
Open Network -> Interfaces -> wan6, then choose a configuration based on wan6 status: ipv6-prefix means PD; no ipv6-prefix but a global ipv6-address usually means SLAAC / RA.
Case A: 1Gbps line without ひかり電話 (SLAAC)
This is usually SLAAC / RA. It applies to a 1Gbps line without a "ひかり電話" contract. Configure wan6 only.
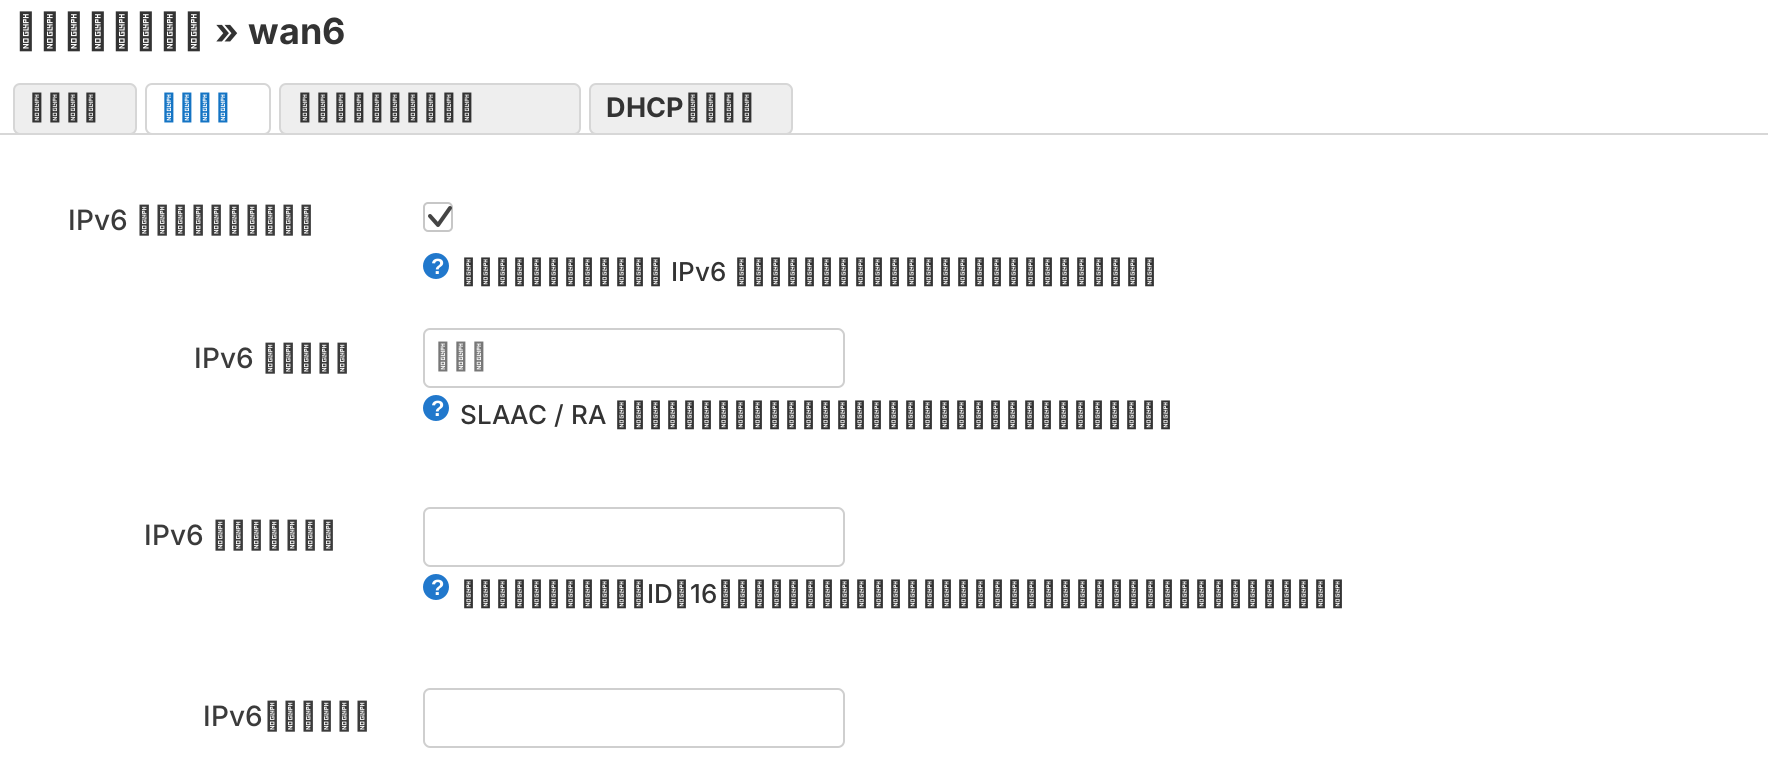
Advanced Settings, do not assign a downstream prefix length to wan6.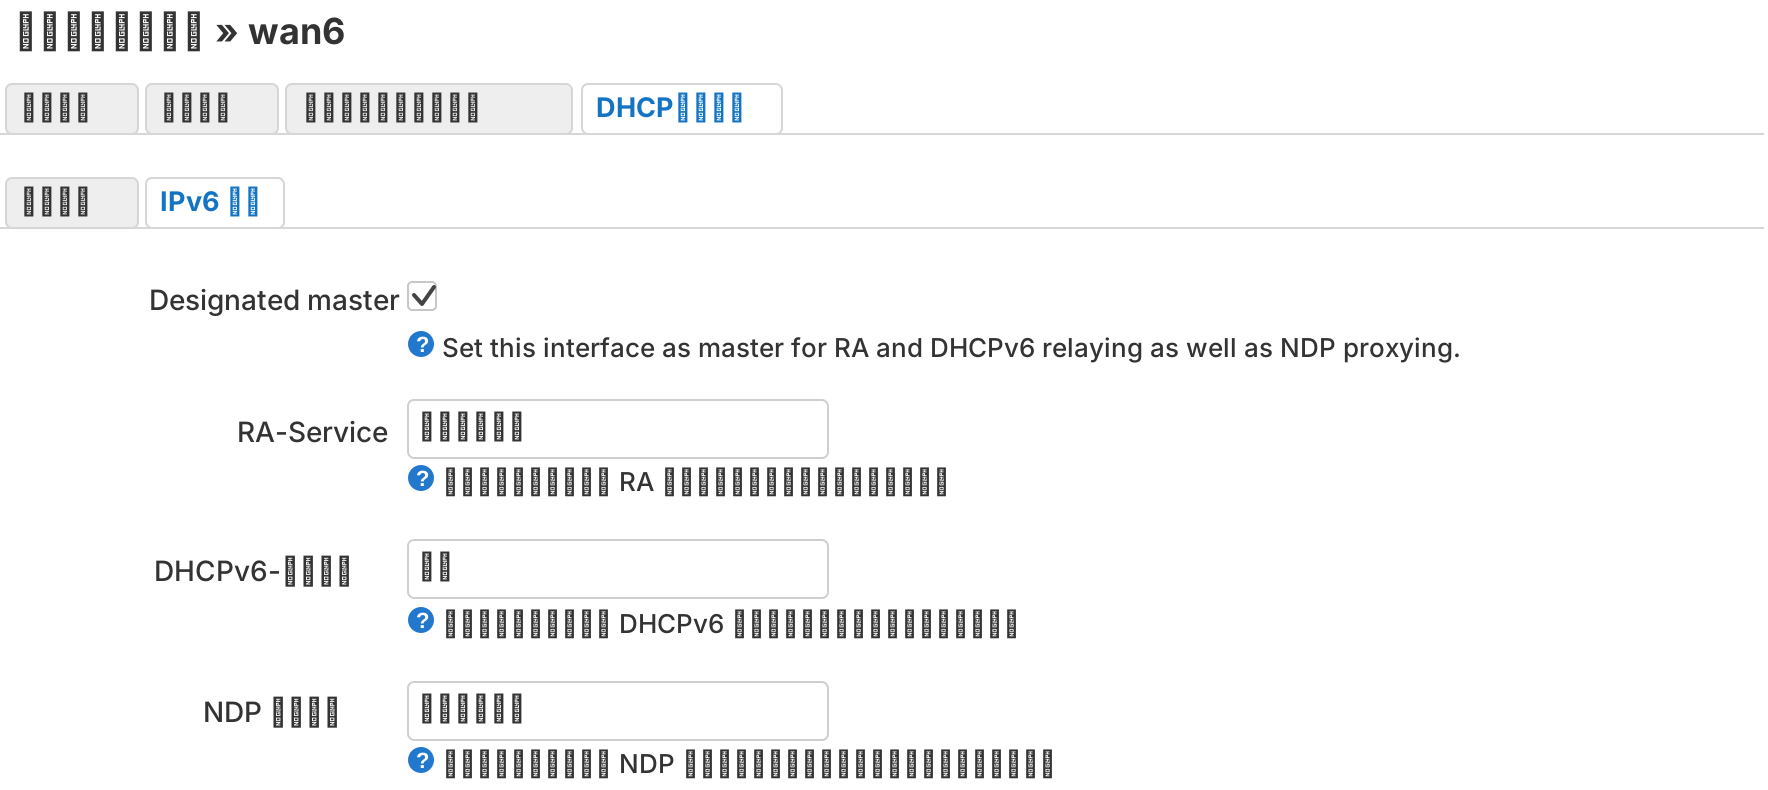
DHCP Server -> IPv6 Settings; set RA / NDP to relay to allow LAN clients to get addresses.Protocol:DHCPv6 clientRequest IPv6-address:tryRequest IPv6-prefix: emptyExtend prefix: enabledIPv6 assignment length: empty
If LuCI shows DHCP Server / IPv6 RA Settings, set the wan6 side as follows:
Designated master: enabledRA-Service:relayNDP-Proxy:relayDHCPv6-Service:disabled
Case B: 10Gbps line, or line with ひかり電話 (DHCPv6-PD)
This is usually DHCPv6-PD. It applies to a 10Gbps line, or to a 1Gbps line with a "ひかり電話" contract. Configure wan6 first to receive the prefix.
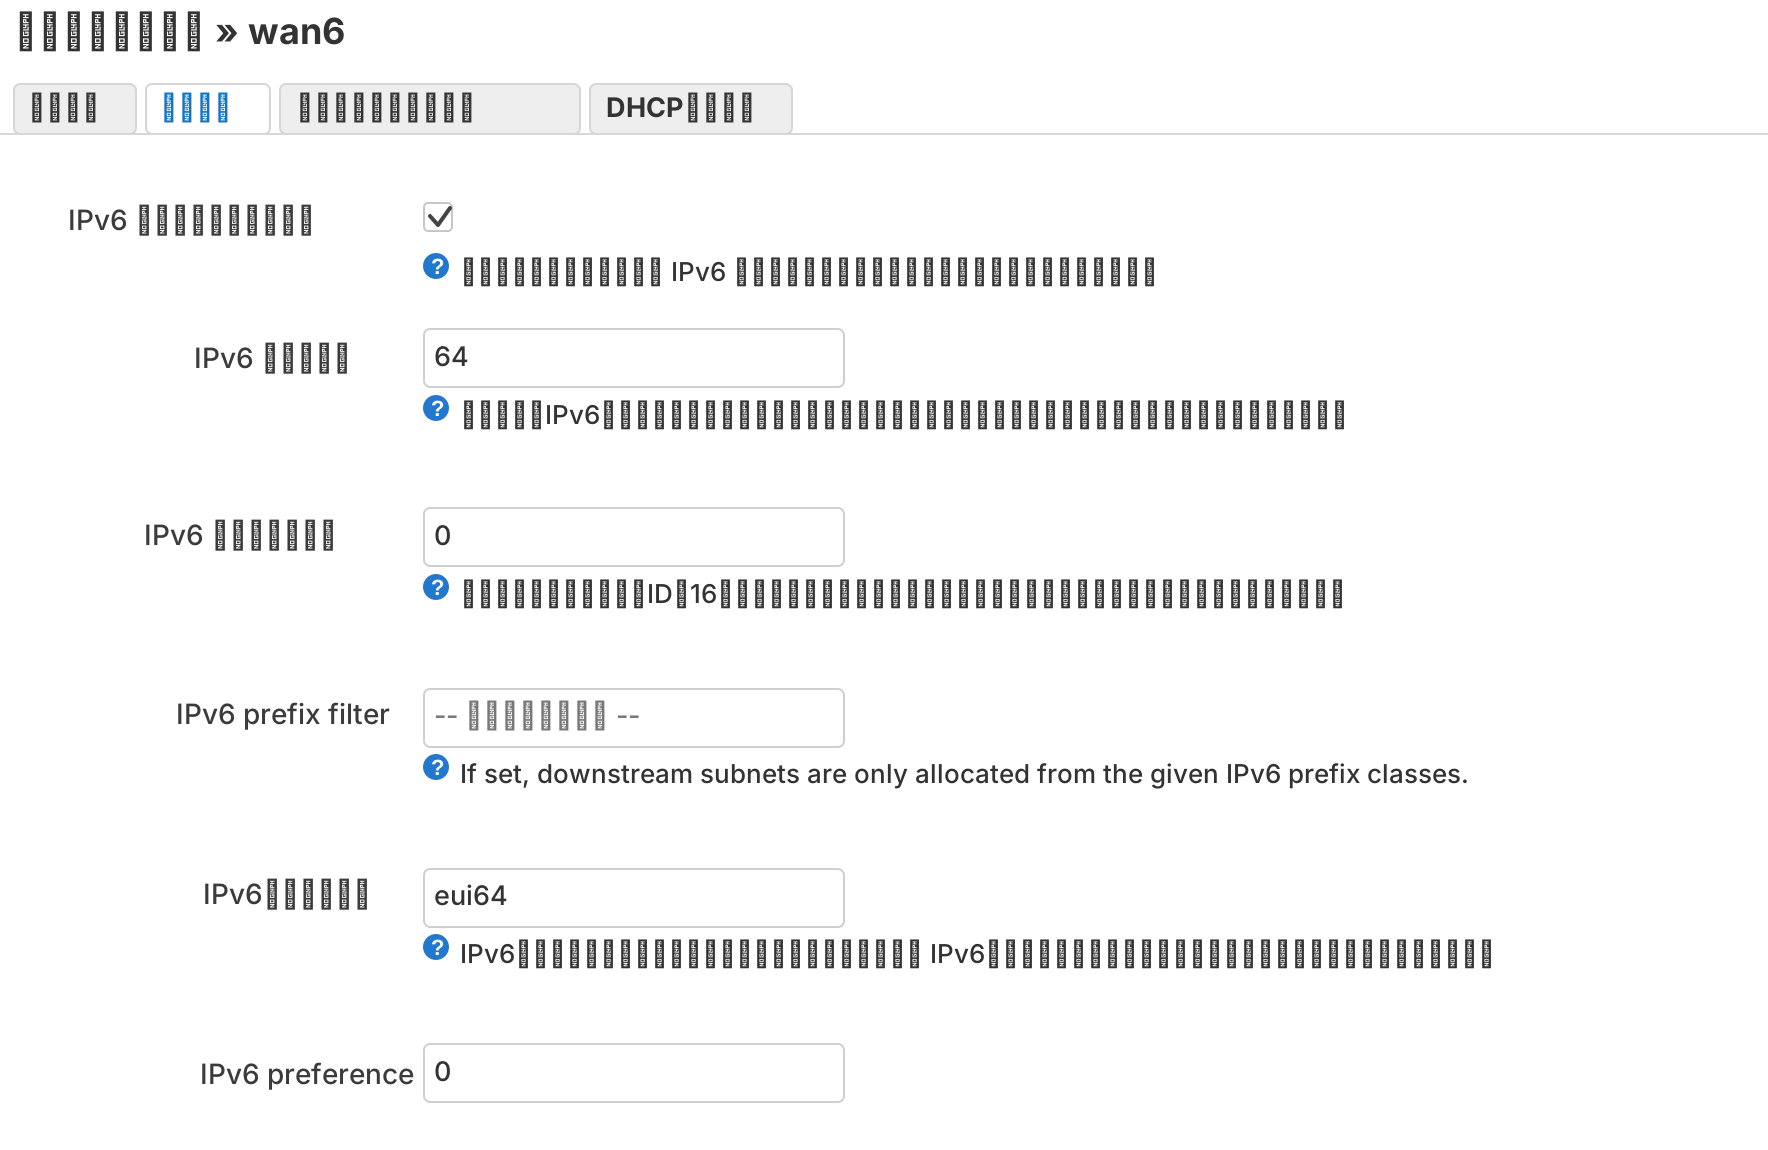
Advanced Settings, use 64, hint 0, and eui64.Protocol:DHCPv6 clientRequest IPv6-address:tryRequest IPv6-prefix:autoIPv6 assignment length:64IPv6 suffix:eui64
Completion condition: wan6 status shows ipv6-address; PD should also show ipv6-prefix.
3. Did you save and apply?
Check the top-right corner of LuCI. If 保存されていない変更 is still shown, the settings above have not actually been applied yet.

Open the unsaved changes prompt, then click 保存&適用. Wait for the apply step to finish, then check wan6 status again.
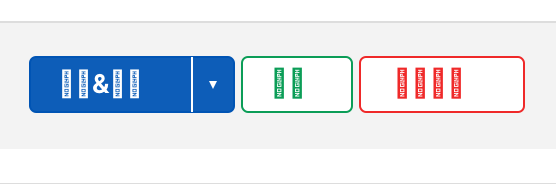
保存&適用, not only 保存.After the steps above, the OpenWrt router itself should be able to reach package feeds over IPv6. It is expected that client devices still do not have normal connectivity yet because Flet’H has not been installed and configured.
Next, install Flet’H with LuCI installation. This path does not require SSH; add the Flet’H package feed and install the package from LuCI.
After installation, continue with the classic setup flow.